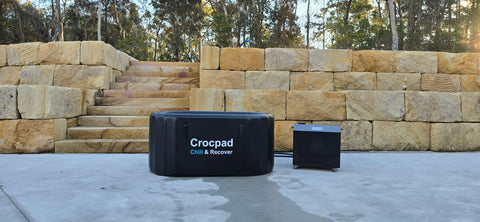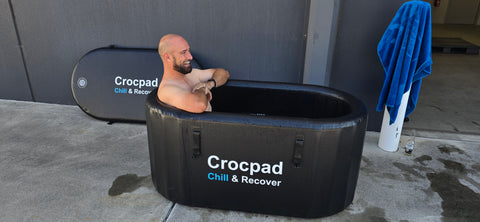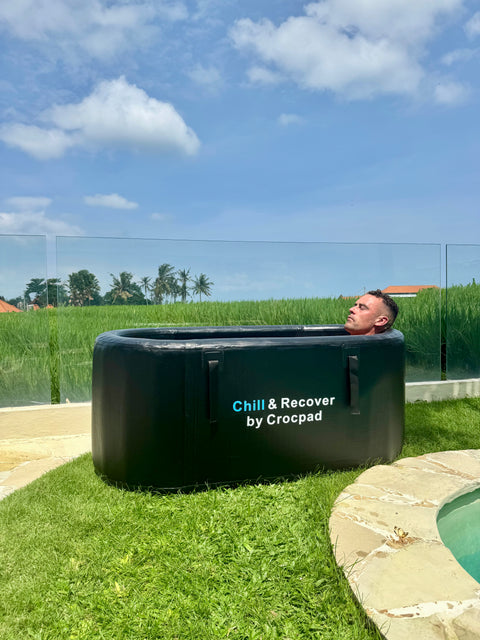
What if your cold plunge’s power bill depends as much on heat getting in as on the cooling happening inside? A chiller uses electricity to cool and maintain the water, while insulation can slow heat gain. Learning how to insulate a cold plunge tub to lower your power bill starts with limiting heat transfer, not expecting the chiller to do less work by magic.
It’s easy to focus on the chiller, especially when it’s working hard to cool warm water to your preferred temperature. But the initial cool-down and ongoing temperature maintenance use energy differently. Once the water is cold, reducing the heat it absorbs can help the system maintain that temperature with less frequent cooling.
This guide explains how insulation around the tub, a fitted cover, insulated pipes and shade can help reduce heat gain. It also covers why the base and surrounding conditions matter, and why reducing the energy needed to maintain temperature won’t eliminate the electricity used for the initial cool-down.
Key Takeaways
- Expect the initial cool-down to use more energy than maintaining cold water; insulation mainly helps limit ongoing heat gain.
- Reduce heat entering the tub by considering the cover, exposed pipes, tub base and placement in direct sun.
- Choose insulation materials with the tub’s surroundings and exposure to moisture in mind, and keep the setup practical to maintain.
- Compare daily electricity use across two similar periods to see whether an insulation change makes a difference.
- Match your cooling expectations to the tub, target temperature and Australian weather conditions, especially during warmer spells.
Do Insulated Cold Plunge Tubs Lower Energy Costs?
Yes. Insulation slows heat entering the water, which can reduce how often a chiller runs to maintain temperature. It won’t eliminate the electricity needed to cool the water initially.
Cooling the Water and Maintaining Temperature
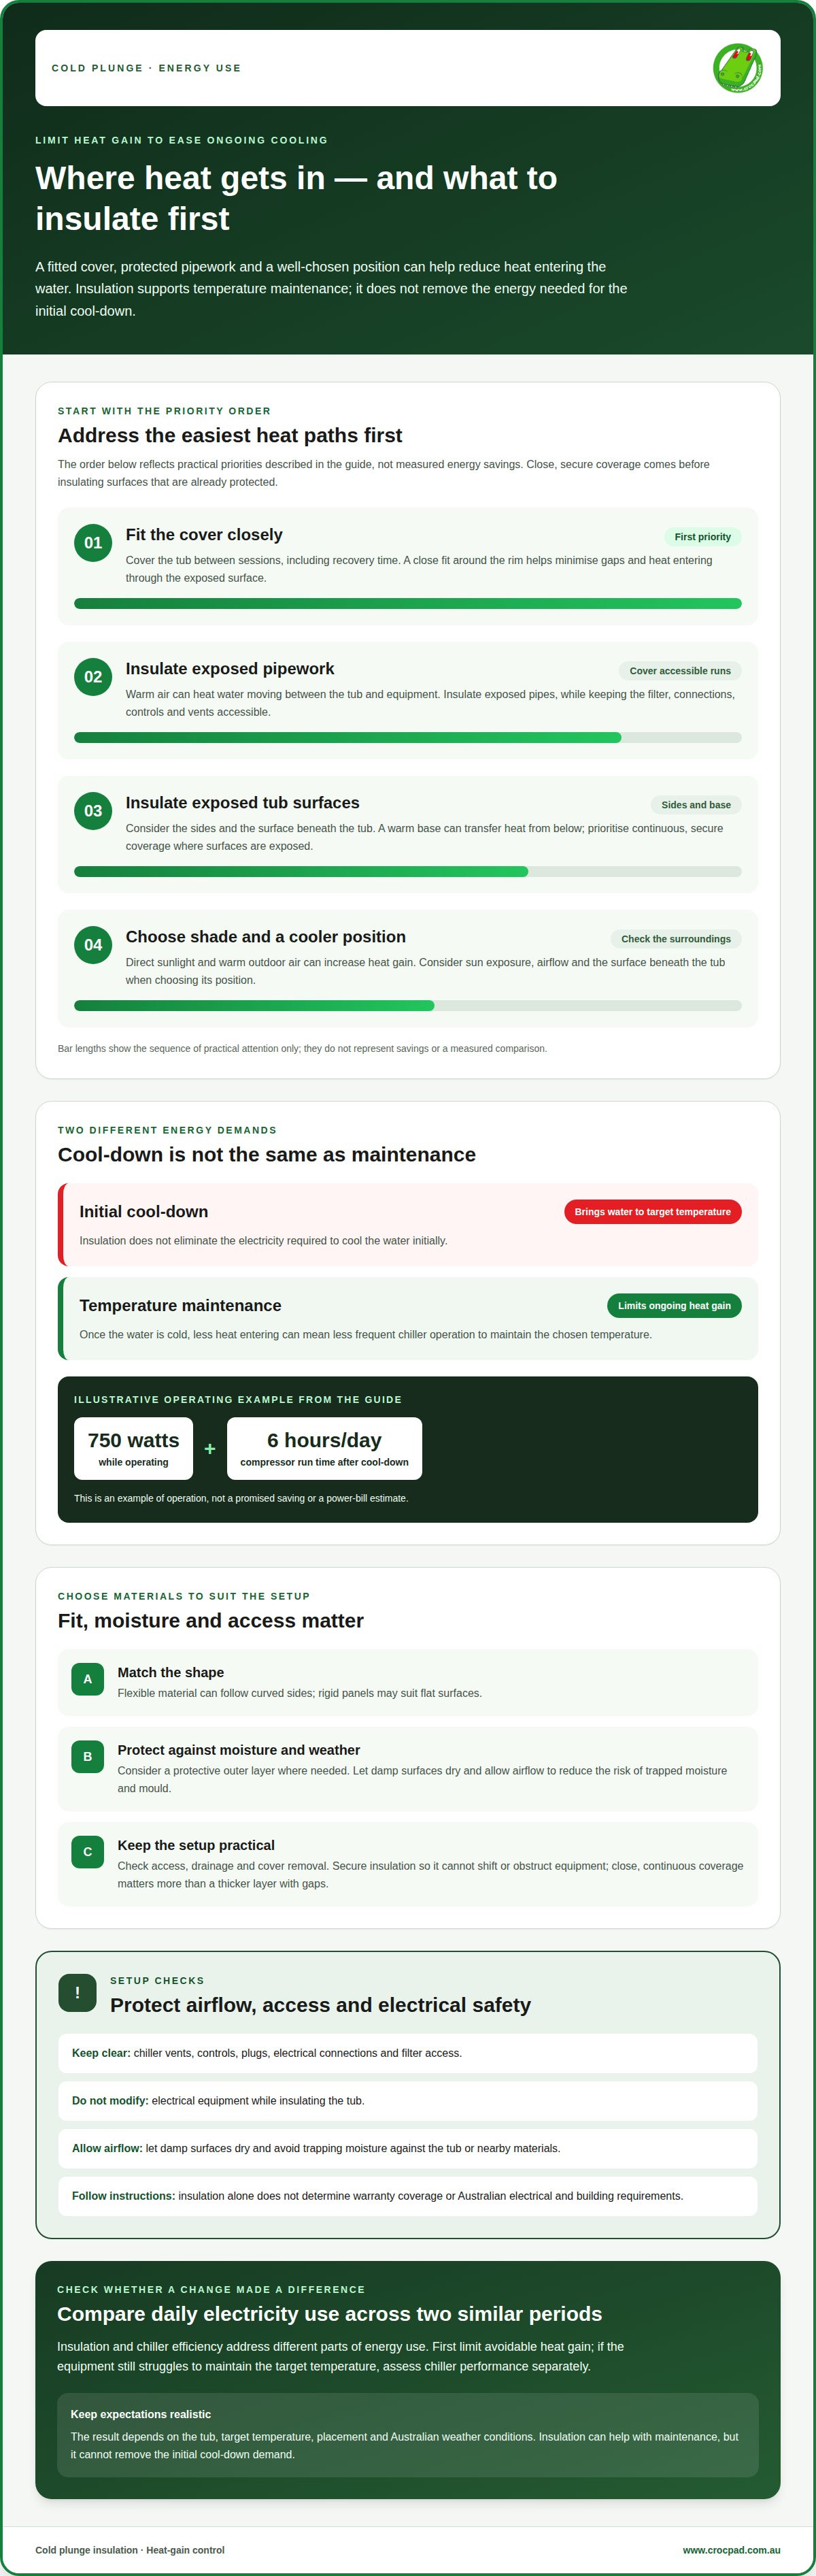
Initial cooldown is the energy used to bring the water to its target temperature; maintenance is the energy used to keep it there. The distinction matters because insulation mainly limits ongoing heat gain. An illustrative calculation uses a chiller drawing 750 watts while operating, with its compressor running six hours per day after cooldown. Less heat entering the tub can mean less maintenance work.
Placement and Ambient Conditions
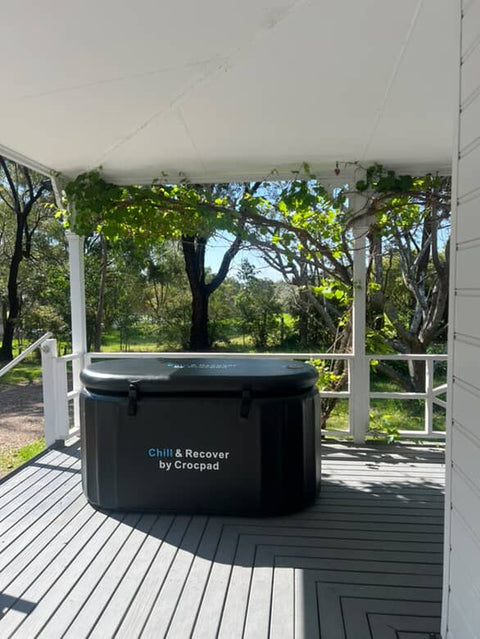
Placement affects how much heat the tub absorbs from its surroundings. Direct sunlight and warm outdoor air can increase heat gain, while shade and a cooler position can help limit it. The base matters too: a tub resting on a warm surface can absorb heat from below. When choosing a spot for a home cold plunge, consider sun exposure, airflow and the surface beneath the tub.
Insulation doesn’t determine warranty coverage or Australian electrical and building requirements on its own. Follow the equipment instructions and consider the installation context. Keep insulation clear of chiller vents, controls, plugs and electrical connections, and don’t modify electrical equipment while insulating the tub.
Temperature Controls and Scheduling
A temperature controller switches the chiller on as the water warms and off when it reaches the set temperature. Accurate settings help prevent cooling below your target. Scheduling can align operation with regular use, but the controller still needs to maintain the chosen temperature between sessions. Review settings and temperature readings regularly, and avoid schedules that leave the water warmer than intended.
Insulation may affect moisture around a cold plunge, so allow airflow and let damp surfaces dry. If moisture stays trapped against the tub or nearby materials, mould may develop. Leave space for airflow, keep equipment vents clear and allow damp surfaces to dry.
Insulation Versus Chiller Efficiency
Insulation reduces heat entering the tub; a more efficient chiller uses less electricity to cool the water. These address different parts of energy use, so improving insulation can reduce the load even if the chiller stays the same. A chiller upgrade may make more sense when existing equipment struggles to maintain your target temperature. To reduce power use, first limit avoidable heat gain, then assess whether equipment performance remains the main issue.
Reducing energy use with covers, pipe insulation and shade
A fitted cover, insulated pipework and a shaded position each limit a different route for heat gain. Learning how to insulate a cold plunge tub to lower your power bill starts with matching each measure to an exposed area.
Effects on Energy Costs
Insulation and a well-fitted cover reduce heat entering the water, which can mean the chiller runs less often. A tub exposed to warm air loses its cool more readily than one protected from heat. Cover the tub between sessions, including during recovery time, and fit the lid closely around the rim to minimise gaps.
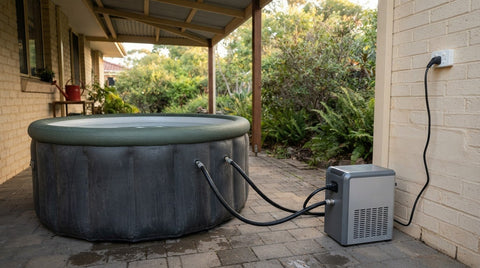
Insulate exposed pipework too. Warm air can heat water as it moves between the tub and equipment, so covering accessible pipe runs helps limit heat transfer. Keep insulation clear of the filter, controls and vents. Choose a cover that’s easy to remove and replace so you’re more likely to use it consistently.
DIY Insulation Material Costs
DIY material costs in Australia depend on the tub’s surface area, the materials selected and whether the cover and pipework are included. A small tub with short exposed pipes needs less coverage than a larger outdoor setup. Estimate the sides, base, pipe runs and fitted cover as separate parts of the job.
Include any protective outer layer and attachment materials in your estimate. Insulation exposed to outdoor weather, for example, may need protection from moisture and damage. A low-cost material can become expensive if it needs frequent replacement or won’t stay in place. Prioritise secure coverage and a close-fitting lid over insulating surfaces that are already protected.
Suitable Insulation Materials
Choose insulation to suit the tub’s shape, location and exposure to moisture. Flexible material can follow curved sides, while rigid panels may work well on flat surfaces. Either way, protect insulation from water and weather, and avoid loose material that could shift or obstruct equipment.
A fitted insulated cover complements side insulation by limiting heat entering through the exposed surface. Insulating exposed pipework can help too, especially where pipes run through a warm area. Keep the filter and connections accessible. If the system includes a heater, don’t cover or interfere with its components.
For a complete setup, explore cold-plunge setup options alongside your insulation plan.
Insulation Thickness and R-Value
There’s no single useful thickness or R-value for every cold plunge tub. The right choice depends on the tub’s construction, available space, climate and whether it’s indoors or outdoors. If you’re deciding how to insulate a cold plunge tub to lower your power bill, prioritise close, continuous coverage over a thicker layer with gaps.
Check how added insulation affects access, drainage and cover removal. Keep ventilation paths open and leave room around the chiller. Flexible insulation may fit curved walls more closely, while flat panels can suit straight sections. Aim for secure coverage without blocking the filter or restricting airflow.
How insulation reduces cold plunge energy use
Insulation slows heat moving from warmer surroundings into colder water. In a cold plunge, this means the chiller has less incoming heat to remove while maintaining the selected temperature. Insulation doesn’t cool the water by itself; it helps preserve the cooling already achieved. That’s how it can reduce ongoing energy use without changing the chiller or temperature setting.
Heat can enter through several parts of a tub, including its sides, base, open top and exposed plumbing. Insulation beneath the tub can limit heat transfer through the base, particularly when it sits on a warmer surface. A fitted cover protects the exposed water surface, while insulation around the body slows heat transfer through the walls. Each measure addresses a different route.
The difference matters for Australian home cold plunge setups, which commonly hold about 300 to 500 litres of water. A larger volume takes substantial cooling to reach its target temperature, so insulation is not a substitute for the initial cooldown. Instead, it reduces how quickly surrounding warmth raises the water temperature afterwards. The chiller then has less heat to remove during maintenance.
Think of insulation as reducing the chiller’s workload, not switching it off. If warm weather heats an outdoor tub and its surroundings, the chiller still needs to remove that heat. Insulating the sides and base can slow transfer, but gaps leave surfaces exposed. The result depends on the tub’s construction, its location, the cover fit and the temperature difference between the water and its surroundings.
To see whether a change helps, compare daily kWh across two similar periods, as recommended in the guide’s illustrative approach. Keep the target temperature and use pattern consistent, then compare the readings before and after adding insulation. One kilowatt-hour represents using 1,000 watts of electrical power for one hour. Similar weather and operating conditions make the comparison more useful than comparing unrelated days.
- Insulate the base: A layer underneath can reduce heat transfer from the supporting surface.
- Cover the water: A fitted cover limits exposure when the plunge isn’t in use.
- Reduce gaps: Continuous coverage avoids leaving sections of the tub exposed.
- Track energy: Compare daily kWh over two similar periods.
These measures can help keep a cold plunge temperature more consistent, but they don’t eliminate heat gain or the energy needed for cooling. Check the tub, base and plumbing together. Improving one exposed area while leaving another unprotected may limit the overall benefit. Secure insulation also avoids having to repeatedly remove or replace loose material.
Initial cooling versus maintenance operation
Initial cooling removes heat from the full volume of water; maintenance cooling replaces heat entering after the target temperature is reached. The distinction matters because insulation reduces ongoing heat gain, but doesn’t remove the initial cooling load. For example, cooling water from 25°C to 10°C is a smaller task than cooling the same volume from 30°C to 3°C.
That temperature gap helps explain why the first run can take longer and use more energy. A DIY cooler setup in the supplied test cooled water at roughly 2°F per hour, but that rate describes one setup, not every cold plunge. Tub volume, starting temperature, target temperature, insulation and the chiller’s performance all affect cooldown time. A larger temperature drop means more heat must be removed before maintenance begins.
Cooling capacity and electrical consumption are different measurements. A chiller with 2.5 kW of cooling capacity doesn’t necessarily consume 2.5 kW of electricity continuously. Capacity describes heat removal; the electrical input describes power drawn from the supply. Use the chiller’s electrical rating when estimating electricity use or planning generator requirements, rather than treating its cooling capacity as its consumption.
After cooldown, the compressor switches on as heat raises the water temperature, then switches off once the control target is reached. Insulation reduces heat entering the tub, which can reduce how often that cycle repeats. In warmer weather, the daily cooling need for one cooler-based plunge was estimated to rise to around 5000 BTU. Outdoor placement and direct sunlight can therefore change maintenance demand, even when the tub and target temperature stay the same.
- Initial cooldown: The chiller removes heat from the water until it reaches the set temperature.
- Maintenance: The chiller removes heat that enters afterwards.
- Cooling capacity: This describes heat removal, not continuous electrical consumption.
- Insulation: It reduces heat gain, helping limit later cooling cycles.
To understand your power bill, separate the initial cool-down from later operation. Compare energy use after the tub reaches its target, keeping the target and usage pattern consistent. If insulation reduces the energy needed to maintain temperature, the benefit appears in later cooling cycles, not in the initial cool-down. This distinction also explains why one daily figure can’t represent every Australian setup or season.
What insulation materials are suitable for a cold plunge tub in Australia?
Choose materials that suit the tub’s shape, location and exposure to moisture. An outdoor setup in a sunny Australian climate needs different protection from a plunge kept indoors. Aim for continuous coverage that stays in place, protects the insulation and leaves the chiller, filter and connections accessible.
Closed-cell foam can be cut to follow a tub’s curved sides. Choose a product intended for the conditions where it will be used, then protect it from damage and persistent moisture. If sections lift or separate around a curved wall, heat can still pass through the gaps.
Rigid foam board can work well on flat areas, such as the base or straight-sided panels. A board beneath the tub helps limit heat transfer from the supporting surface, but it needs to sit level and remain stable. Don’t use a loose or uneven layer that could affect the tub’s support. Cut around feet or structural parts rather than covering them.
Foam pipe insulation can cover accessible plumbing between the tub and chiller. Match the sleeve to the pipe’s shape and leave joints, valves and service points reachable. A snug fit covers exposed pipe without obstructing water flow. Keep insulation away from vents and electrical connections.
A fitted insulated cover is another key part of the setup. Choose one that sits securely across the opening and is easy to remove after a plunge. A cover with large gaps or one that’s awkward to handle may not protect the water consistently. For an outdoor tub, choose a cover suited to its weather exposure.
- Curved sides: Use flexible foam that follows the tub without leaving open seams.
- Flat base: Fit rigid insulation beneath a stable, level support.
- Exposed pipes: Sleeve accessible runs while keeping valves and service points clear.
- Open top: Use a secure cover that fits the tub’s rim.
Before fitting any material, check the tub and equipment instructions for surfaces that need to remain uncovered. Keep ventilation clear and avoid trapping damp material against the tub. Check the base, seams and pipe sleeves after rain or cleaning, and reposition or replace any sections that have shifted or become damaged.
If you’re choosing equipment for a plunge setup as well, explore cold plunge and chiller options alongside your insulation plan.
Crocpad
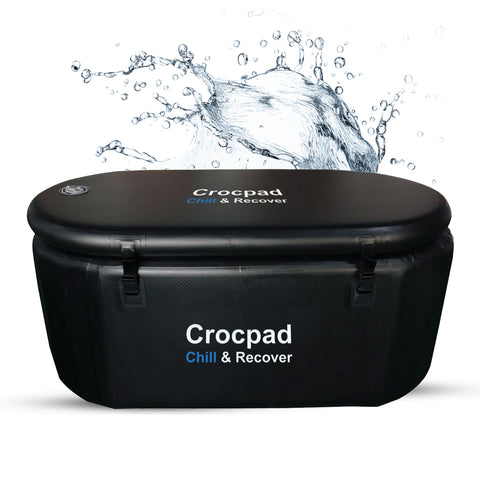
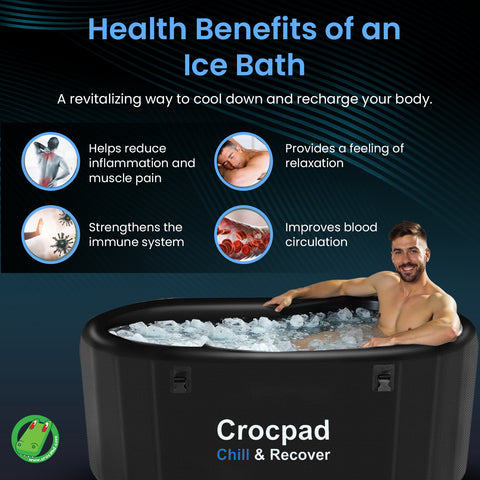
Crocpad offers Ice Baths & Chillers for people choosing equipment for a home cold-plunge setup. Insulation can reduce heat entering the water, while the chiller handles the initial cooling and ongoing temperature maintenance. Considering both helps you understand how the tub and cooling equipment fit into your routine. Explore the available options when you’re weighing a cold-plunge setup against your space and intended use. The right choice depends on practical factors such as where the tub will sit and how you plan to use it. For information about Crocpad’s offerings, contact Crocpad.
Make your next setup decision with confidence
Apply what you’ve learned about how to insulate a cold plunge tub to lower your power bill when planning your setup. Consider where the tub will sit, what needs to remain accessible for maintenance and how to protect insulation from moisture and weather. A practical fit matters: insulation that blocks ventilation or makes equipment difficult to reach can create new problems.
There’s no single arrangement for every Australian home. Your space, tub and routine all shape which setup makes sense, so focus on choices that suit how you’ll use the plunge rather than adding materials without a clear purpose. Crocpad also offers recreational products including the Floating Water Mat, Minima Pool Slide and Megalo 3M Inflatable Water Pool Slide.
For help considering your options, contact Crocpad to discuss your options. Take the next step towards a cold-plunge setup that fits your space and routine.
Frequently Asked Questions
How Much Electricity Does a Cold Plunge Chiller Use?
Electricity use depends on the chiller’s electrical input and how long its compressor operates. For a simple estimate, multiply the input in watts by operating hours, then divide by 1,000 to get kilowatt-hours. For example, a 750-watt compressor running for six hours uses 4.5 kWh. This estimates compressor use only; a separate pump or other equipment adds to the total.
Thermal Bridging: Are You Losing Cold to the Ground?
Yes, heat can pass through the tub base and its supporting surface, warming the water from below. A hard, warm patio, for example, can transfer heat through direct contact. A continuous insulating layer beneath the tub can interrupt that path. Keep the support level and stable, and avoid a fit that leaves the tub uneven or puts pressure on its structure.
What Changes Cold Plunge Power Consumption?
Power use varies with water volume, starting and target temperatures, insulation, sunlight and surrounding air temperature. Chiller operation also depends on its electrical input and how long it runs. A tub in direct summer sun, for example, can face a different cooling load from the same tub in a shaded indoor space. A separately operated pump also adds to electricity use.
How much electricity does a cold plunge tub use in Australia?
There’s no single Australian figure because equipment ratings and operating hours vary. Cold plunge chillers are commonly rated between 500 and 1,500 watts, but that rating doesn’t show daily consumption by itself. Multiply the electrical input in kilowatts by operating hours to estimate kWh. Include any separate pump, then use your electricity bill’s applicable rate to work out the charge.
How much can insulating a cold plunge tub reduce electricity costs?
There’s no fixed saving that applies to every tub. The result depends on existing insulation, cover fit, outdoor exposure, weather and chiller operation. To estimate the change for your setup, compare electricity use over similar periods before and after insulating, while keeping the temperature setting and usage pattern consistent. Multiply any reduction in kWh by the applicable rate on your bill to estimate the cost difference.
How to insulate the sides, base and lid of a cold plunge tub?
Start with the tub’s construction and equipment instructions. Fit insulation snugly around suitable side surfaces, then add a stable layer beneath the base if the setup allows. Finish with a lid that covers the opening without pressing on controls or blocking ventilation. Check that drainage, access panels and chiller connections remain reachable. Continuous coverage matters more than adding material that can’t be secured properly.
How to seal a cold plunge tub lid to reduce heat gain?
Set the lid in place and check the rim for visible gaps, especially at corners, hinges and cut-outs. Reposition it so it sits evenly, then check that straps or fasteners hold it without distorting the cover. Keep the rim clean so debris doesn’t prevent the lid from sitting flat. Don’t cover vents, controls or anything the equipment instructions require to remain accessible.
How to insulate pipes and fittings on a cold plunge chiller?
Choose pipe insulation that fits the exposed pipe and stays secure in the conditions around the tub. Cover accessible straight runs first, then trim it carefully around bends. Keep valves, unions, filter access and service connections visible and reachable. Don’t wrap electrical connections or cover equipment vents. After fitting, check that the sleeves haven’t shifted and that plumbing remains accessible for routine inspection.