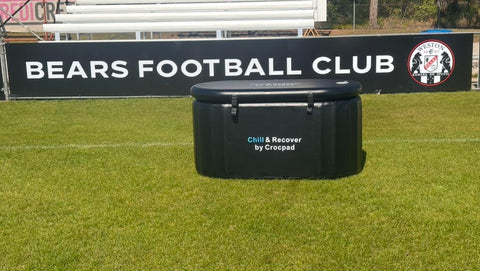
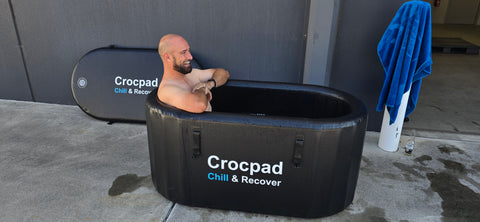
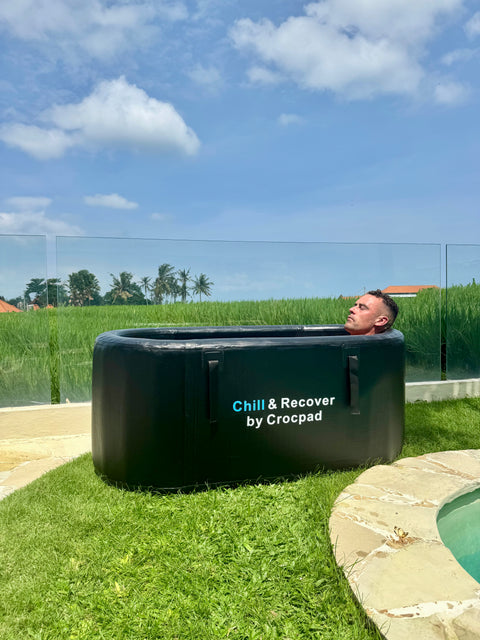
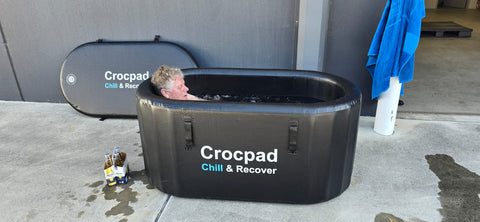
The thickest floating island isn’t automatically the best fit for your lake. Compare a heavy-duty lake floating island with D-rings by its construction, dimensions, stated capacity and attachment-point layout; inflatable swim docks made from PVC with drop-stitch construction range from 4 to 8 inches thick.
Choosing a heavy duty lake floating island with D rings means balancing space and stability with how you plan to secure and use it. D-rings are one part of that decision, but their number and position matter alongside the island’s overall design.
This guide explains how to compare construction, size, capacity and D-ring placement so you can match a float to the water conditions and group. It also covers practical considerations for safe use and storage, helping you focus on the features that matter before choosing.
Key Takeaways
- Compare construction and material details alongside thickness to understand how a float is built for regular water use.
- Match the island’s dimensions and stated capacity to your group, and leave room to move comfortably.
- Consider the water conditions where you plan to use the float; a design suited to a calm lake may not suit every setting.
- Assess D-ring placement, handles and other attachment points by how you intend to secure and use the island.
- Build simple care habits into your routine: rinse after use, dry thoroughly and store the float deflated in a cool, dry place.
Heavy-duty float construction and materials
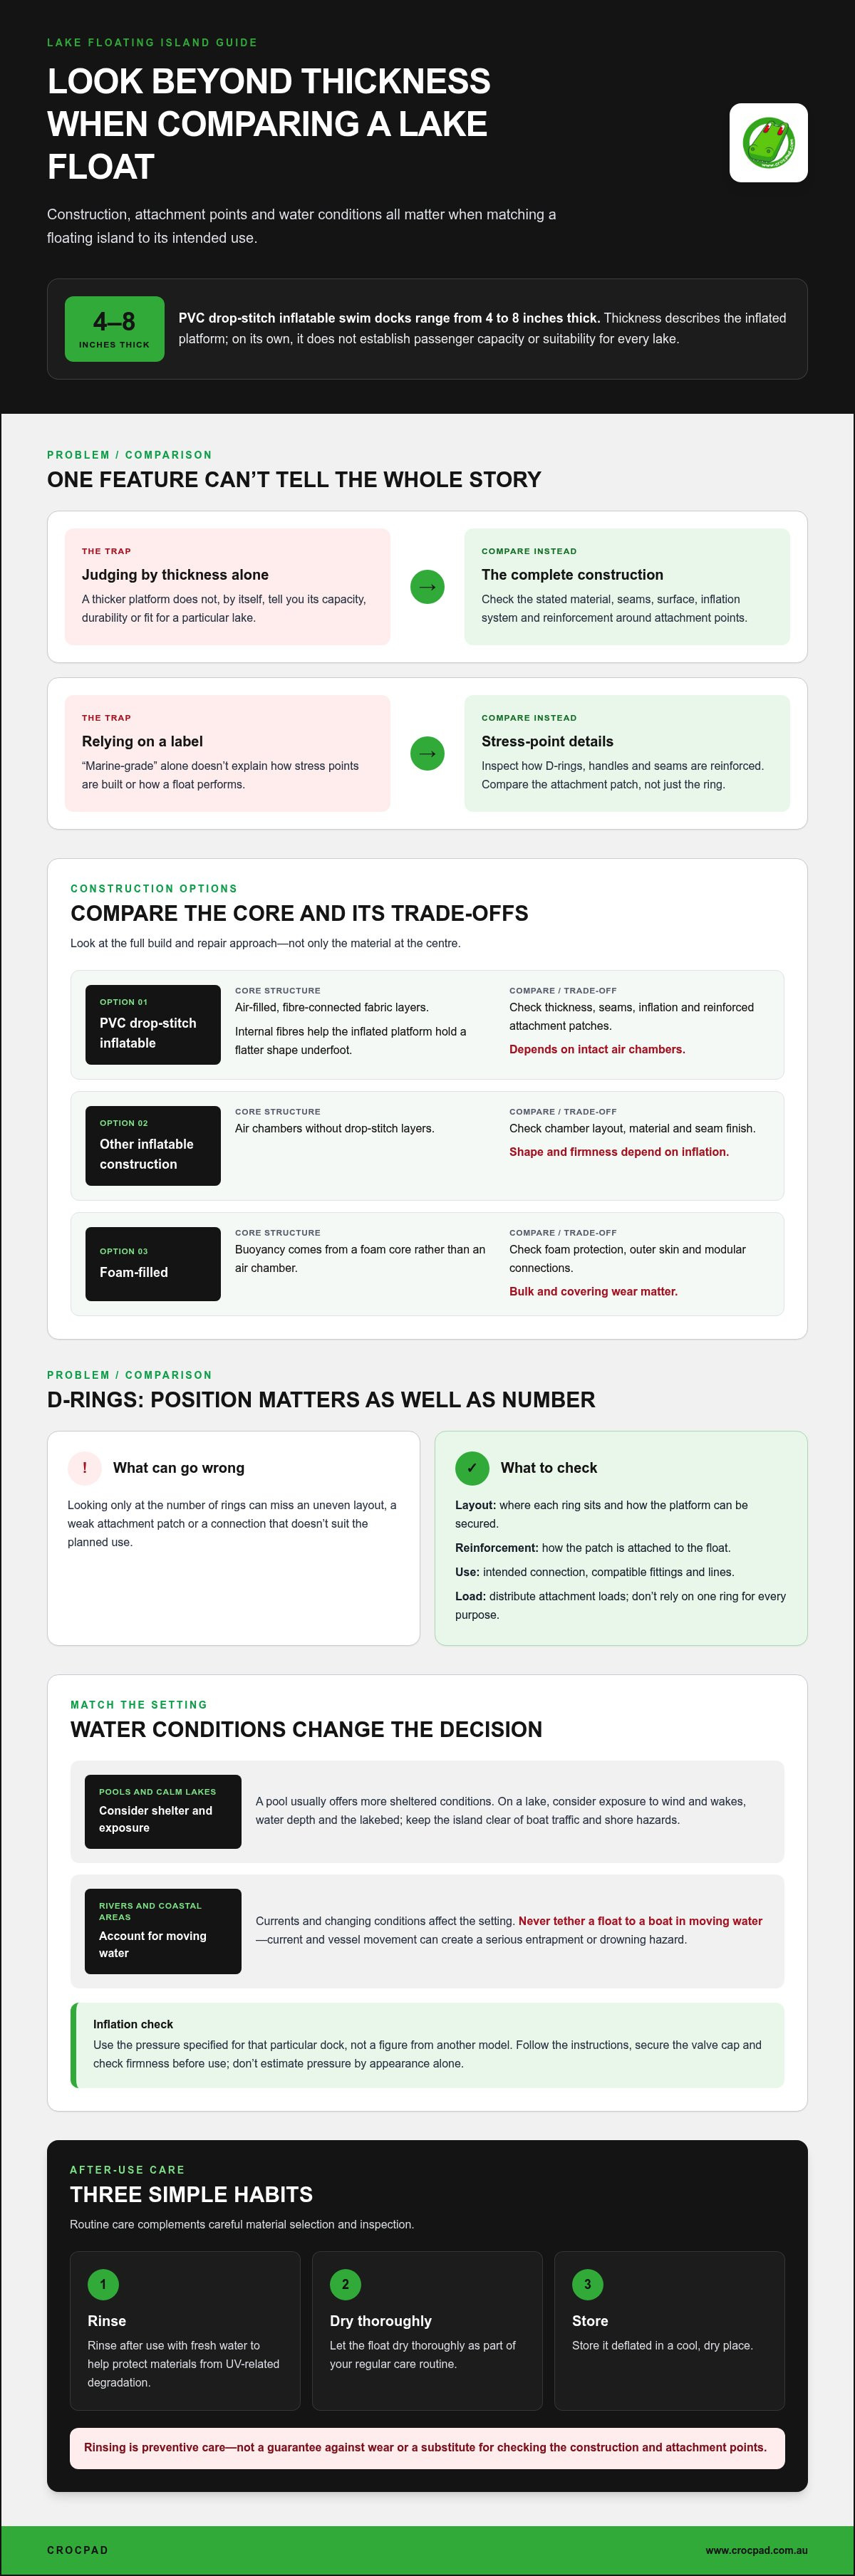
Start with the structure beneath the surface finish. Inflatable swim docks made from PVC with drop-stitch construction range from 4 to 8 inches thick. That measurement describes the inflated platform’s thickness, but it doesn’t establish passenger capacity or suitability for every lake. Compare the material, seams, surface and attachment reinforcements as a complete build.
“Marine-grade” is a useful description, but it doesn’t replace construction details. Look for the stated material and how stress points are reinforced, especially around D-rings, handles and seams. A reinforced attachment patch, for example, can spread pulling force across more fabric than a ring fixed only to the outer layer. The label alone can’t tell you how a float performs.
To see an inflatable dock in use on the water, watch this review:
Drop-stitch construction connects the top and bottom fabric layers with internal fibres. When inflated, those fibres help the platform hold a flatter shape underfoot. Thickness is one point to compare, not a stand-alone measure of durability. Consider the outer PVC, seams and inflation system too. Inspect how attachment points are reinforced rather than assuming every ring suits every load.
Inflatable and foam-filled islands handle damage differently. An inflatable can be deflated for transport, but a puncture or seam failure can reduce buoyancy until it’s repaired. Foam-filled construction doesn’t rely on an air chamber, though its outer covering can still wear or tear. Compare the complete build and repair approach, not just the core material.
No specific Australian retailer can be named here without risking an unsupported claim. To assess a commercial-grade option, compare its published material, construction, intended use and repair information rather than relying on the retailer’s description alone.
| Construction option | Core structure | Useful comparison | Potential trade-off |
|---|---|---|---|
| PVC drop-stitch inflatable | Air-filled, fibre-connected layers | Thickness, seams, inflation and reinforced attachment patches | Depends on intact air chambers |
| Other inflatable construction | Air chambers without drop-stitch layers | Chamber layout, material and seam finish | Shape and firmness depend on inflation |
| Foam-filled | Buoyancy from a foam core | Foam protection, outer skin and modular connections | Bulk and covering wear matter |
Match the construction to your transport, storage and on-water needs, then inspect how each attachment point is reinforced.
After each use, rinse the float with fresh water to help protect its materials from UV-related degradation. Make rinsing part of regular care rather than treating heavy-duty construction or a robust-looking surface as a reason to skip maintenance. It’s a preventive step that complements careful material selection and reinforced attachment areas.
Rinsing helps protect against UV-related material degradation, but it doesn’t make a float immune to wear or guarantee how long it will last. Make it part of after-use care, whatever the construction. It’s a straightforward habit, not a substitute for comparing the build, checking attachment points or following the care guidance provided with the float. Regular maintenance helps protect materials over time.
Inflatable floating islands for lakes, rivers, pools and coastal use
Match the island’s design to the water and planned use. Calm pools, lakes, rivers and exposed coastal settings present different demands.
Inflatable dock attachment points
D-rings provide places to connect compatible lines or link dock sections. Their position affects how evenly a platform can be secured, so inspect the layout before choosing. Compare each ring’s attachment patch and intended use, not just the number of rings. A perimeter ring may suit linking sections, for example, while a poorly placed point can pull unevenly.
Use fittings and lines designed for the intended connection. Distribute attachment loads rather than relying on one ring for every purpose.
Heavy-duty inflatable swim docks
A heavy-duty inflatable swim dock is a buoyant platform designed for use on the water. Its broad surface can provide space for lounging or swimming access, while its inflation system affects transport and storage compared with a rigid platform. On a lake, consider exposure to wind and wakes. A pool usually offers more sheltered conditions.
Rivers and coastal areas bring moving water, currents or changing conditions. Choose the setting carefully, and don’t tether a float to a boat in moving water, where this creates a drowning hazard.
Inflation pressure, time and pumps
Use the pressure specified for the particular dock, not a figure borrowed from another model. A compatible pump and valve connection help deliver the required inflation without exceeding the chamber’s stated limit. An electric pump can reduce manual effort, while a hand pump gives you direct control during inflation.
Inflation time depends on the dock’s volume, pump output and starting conditions. Follow the product instructions, secure the valve cap and check the platform’s firmness before use. Don’t estimate pressure by appearance alone.
Anchoring and mooring
On a calm lake, use compatible mooring lines attached to suitable D-rings, and consider wind, water depth and the lakebed. Keep the island clear of boat traffic and shore hazards. Never tie it to a boat in moving water; current and vessel movement can create a serious entrapment risk.
Rules for floating platforms can depend on the lake’s managing authority, location and intended use. Navigation, access and mooring conditions may affect where a platform can be used.
Prices and shipping costs vary with the island’s size, construction, included equipment and delivery destination. Compare the complete delivered cost, including any pump or accessories, rather than judging the platform by its base price alone.
For care, rinse the float with fresh water after use, dry it completely, then store it deflated in a cool, dry place. These steps help limit material degradation and reduce the risk of mould and mildew. Explore water recreation options when comparing ways to enjoy time on the water.
Dry floats completely before storage to help prevent mould and mildew. Consider this care requirement alongside whether the island suits your intended water and use, rather than letting price alone decide.
Float dimensions, weight and passenger capacity
Compare a floating island’s usable deck area, overall dimensions, packed weight and stated passenger capacity. A wide platform may offer room to spread out, while a longer, narrower shape can suit a particular shoreline or storage space. The best fit depends on where it will sit, how it will travel and who will use it.
Measure usable space, not just the outside edge
Product dimensions describe the island’s full footprint, but raised edges, lounging areas or fittings can reduce clear standing space. Picture the planned activity: swimmers climbing aboard need a clear entry area, while a family picnic may need room for bags and seating. Compare the usable surface as well as the length and width.
Before choosing, measure the available storage area and the route from storage to water. A bulky island may fit the lake but prove awkward to carry through a narrow gate. Also consider how it will sit beside a dock or shore, where surrounding clearance affects access and movement.
Interpret passenger capacity carefully
Use the maker’s stated capacity as the key limit, not a headcount guessed from the island’s surface area. Capacity relates to the platform’s buoyancy and construction. A group of adults can place a different load on the float than a group including children, even when both groups have the same number of people.
Check whether the stated limit includes gear. A cooler, towels and other equipment add load, so count them alongside passengers. Spread people and items across the platform instead of crowding one edge. Several bags together near one corner, for example, can affect balance and make boarding less comfortable.
Compare packed weight and carrying needs
Inflatable designs can be deflated for transport, but packed weight still matters. Compare the listed weight with the people who will carry it, the vehicle’s available space and the distance from parking to the lake. A large island may need a planned carrying route, even if its deflated pack fits in the boot.
If product details list the island’s weight separately from the pump and accessories, account for each item. This distinction helps you plan the full load for a lakeside trip. Check the packed dimensions too: a long carry bag may be harder to stow than a compact, heavier bundle.
Make your decision in this order: match the footprint to the launch and storage area, compare usable deck space, then check stated capacity against passengers and gear. Choose a size that supports the activity without making transport or access impractical.
Choosing a float for solo use or groups
Choose around the activity first, then match the platform to the people joining in. A solo reader seeking a quiet place to lounge needs a different layout from friends using the island as a shared swimming base. The right choice gives everyone room to get on, settle in and move without crowding one edge.
For solo use, prioritise easy handling and a surface suited to your main activity. If you plan to paddle out, read or rest, consider where you’ll put a towel, bag and drink. Check that these items won’t obstruct your route back into the water. A compact float can be easier to carry and position, while a larger platform may take more effort to launch and store.
For a group, start with the manufacturer’s stated passenger capacity. Then consider how people will use the space. A group lounging side by side needs a different arrangement from swimmers climbing aboard at different points. Leave clear access to the water and avoid placing everyone or all the gear along one edge. The printed limit doesn’t make balance or the platform’s intended use any less important.
- Solo relaxation: Allow space for your body, towel and essentials without blocking an entry point.
- Shared lounging: Choose a layout that lets people spread out rather than cluster together.
- Active swimming: Keep a clear route for getting on and off, especially when several people take turns.
- Family outings: Account for bags and other gear as well as passengers, and keep items distributed.
Think about how the group will change during the outing. If some people swim while others stay aboard, the island needs a practical balance between open deck space and an easy water exit. A platform that feels spacious while everyone is seated may feel busier when people move around. Picture these transitions before deciding.
Also plan for the launch and return. One person carrying and positioning a float may favour a simpler, more manageable option than a group sharing the setup. If friends will help, consider where they can safely hold the island while others board. Don’t use a boat as a tow point in moving water; the movement can create a drowning hazard.
Make the final choice with three checks: who will use the float, what they’ll do aboard, and how it will be carried to the water. Then compare the stated capacity and usable layout with the specific outing. A quiet solo session calls for different space planning than a shared swim stop with bags and frequent movement.
D-rings, handles and action mounts
D-rings, grab handles and action mounts serve different purposes on a floating island. Compare their placement, reinforcement and intended use rather than treating every fitting as a general-purpose attachment point.
Australian buyers can compare inflatable floating islands with D-rings alongside foam-filled platforms and other dock styles. Availability and fittings vary by model, so assess each product’s construction and stated use individually.
A D-ring creates a connection point for compatible lines or linked sections. Its usefulness depends on its location: perimeter fittings may help with positioning, while rings along an edge can suit joining compatible platforms. Check the surrounding patch and stitching or weld, then consider the direction a connected line will pull. A ring’s presence alone doesn’t establish its load capacity.
Handles are designed for gripping and repositioning, not automatically for mooring. A handle near a boarding edge, for example, can give a swimmer a clear place to hold while climbing aboard. Inspect its attachment and don’t use it for another purpose unless the manufacturer says it’s suitable. Handles can also help move a deflated island between storage and launch points.
Action mounts serve a separate purpose: holding compatible accessories, such as a camera mount. They can help capture a lake outing, but their location shouldn’t obstruct a boarding route or create a trip hazard. Check compatibility and the intended installation method before attaching accessories. Keep loose straps, camera poles and other gear clear of swimmers.
Useful safety features include securely attached grab handles, clearly positioned boarding access and reinforced D-ring patches. Look for a layout that lets users hold on and get aboard without crowding one edge. A fitting is useful only if it suits the intended task, remains accessible and doesn’t encourage unsafe tethering or overloading.
- For mooring: Use D-rings intended for compatible lines, and distribute the connection as the design allows.
- For boarding: Choose accessible handles near the usual entry point.
- For filming: Place action mounts away from foot traffic and entry routes.
- Before use: Inspect each fitting for looseness, wear or damage.
On a heavy duty lake floating island with d rings, match each fitting to one clear job. Don’t assume a handle or camera mount can replace a reinforced mooring point. If a patch lifts, a ring bends or a handle feels loose, stop using that fitting until the issue is addressed. A quick inspection before launch helps spot visible damage early.
Compare water recreation gear with your planned use, then choose fittings that support safe access and practical setup.
Crocpad: Floating Water Mat
Crocpad’s Floating Water Mat offers a straightforward way to add lounging space to a day on the water. It’s a relevant option if your priority is relaxing and enjoying time afloat rather than comparing dock-style attachment layouts.
Use the earlier criteria to decide what matters most: a dedicated platform for group activities, or a floating mat for casual recreation. The Floating Water Mat fits the latter purpose. Crocpad also offers pool slides for adding active play around the pool, including the Minima Pool Slide and Megalo 3M Inflatable Water Pool Slide.
Explore the Floating Water Mat and water recreation options, or contact Crocpad to find the right fit for your plans.
Make your next day on the water count
Choose your float around the experience you want, not just the fittings that catch your eye. A heavy duty lake floating island with d rings may suit plans centred on a dock-style platform, while a floating mat offers another way to relax on the water. Think about where you’ll use it, who’ll join you and how you want the day to feel.
For poolside fun, Crocpad offers the Minima Pool Slide and Megalo 3M Inflatable Water Pool Slide alongside its Floating Water Mat. Each supports a different kind of recreation, from lounging afloat to adding active play around the pool.
Ready to shape your setup around your plans? Contact Crocpad to discuss your options, and take the next step towards more enjoyable days in and around the water.
Frequently Asked Questions
What load capacity and dimensions do heavy-duty floating islands have?
Capacity and dimensions vary by model, so compare the manufacturer’s stated passenger limit with the platform’s usable space. For a practical check, mark out the island’s footprint on shore with towels or other gear, then picture where people will sit, climb aboard and place belongings. A larger footprint can offer more room, but it also affects carrying, launching and storage. Include equipment in your intended load.
What materials and UV resistance should a durable floating island have?
Choose a float with materials and care guidance suited to repeated water exposure, and treat UV resistance as protection, not immunity. Sunlight can contribute to material degradation over time, especially with regular outdoor use. Check what material forms the outer surface and whether UV resistance applies to it. After use, fresh-water rinsing helps remove residue; storing the float in shade also limits unnecessary sun exposure.